Showing posts with label Electrical. Show all posts

Monday, February 6, 2012

The Weekend Warrior - Part 1

I am a weekend warrior.

I have a full-time job that requires me to be awake at 5am and at work by 7. I get an hour break and am home by 4, at which point I am pooped.  I am Queen of the Power Nap too (Petey is the Duke of Snuggle Buggle).  After a quick recharge, I make some dinner, clean up, go spend some time with my fellowship, and then I have time to do things around the house...starting around 9pm.

So really it's over the weekend when I get the most done (and on the blog too).  Someday I hope to have a really successful, workaholic spouse so I don't have to do the 40-hour grind anymore. I want to be one of those women who says, "I work because I want to," say 20 hours a week.  Right now, it is just me and The Duke and he doesn't bring home the bacon.  He's an outstanding watch-dog though, despite being such a little squirt.
Stewart Peter Brown I, Duke of Snuggle Buggle


When my officemate found out I was closing on a house he said, "Congratulations! You just took on a part-time job," says the father of three toddlers - all boys.  I came home for lunch on Wednesday and found a four-foot deep sink hole to the immediate right of my driveway.  By the grace of God it was in the city's jurisdiction and they were all over it!  Whew. Now, for the kitchen:

When we last left it, the kitchen was in a state of backsplash nakedness/hoodlessness.  It being Saturday morning...

ATTACK!
The Duke inspecting the temporary kitchen setup.

I started the day by clearing the counters and the upper cabinets, setting up a temporary kitchen in the corner with the daily necessities.  The most important placement was the coffee pot because I am just not fooling around in the morning. I will cut you if you stand between me and my coffee.

After that I took down all the upper cabinet doors,

and I found this:
NOOOOOOOOOOOOOOOOOOOOOOOOOO!!!!!!!!!!!!!!!!
Upon completion of a brief melt down, I decided to put on my big girl pants and suit up...out came the pink rubber gloves.  

After learning my shocking lesson a couple weeks ago, I turned off all the power in the house before starting to remove the cabinetry from the walls.  I already have gravity working against me; I don't need to add more physics into this! 

Power On: beep, beep beep!
Power Off: silence
Look Ma! One hand!
A few things to remember when dealing with electrical wiring:
  1. Make sure you shut the power off from the main circuit breaker box outside. The box inside is usually a subpanel (learned that the hard way!)
  2. Only use one hand. Don't complete the circuit by using both!
  3. Rubber is good. Very Good. Rubber soled shoes, rubber gloves, rubber handled tools. All of it good.
  4. Use the right tools like a voltage checker (as seen above). It lets you know whether you've got a live wire or not and it's like, ten bucks at Lowes.  Also, these cap dealies (right) are pretty crucial for capping off exposed wire until the electrician can get there.  I should have bought more yellow ones; those are the size of most of my wire and I used them all today.
So, I had some fixtures to remove and all of these things came into play this morning.

Snip, snip mofo.
Exposed and dangerous
Done. Now listen to Marilyn.
When I got to the nasty florescent over the sink, I realized I needed my crowbar and rubber mallet to remove the "Country Kitchen" wood thingy (valance? what would you call that thing??) I summoned my inner hoss and ripped, clipped and stripped everything down and without hurting myself, save for a couple awesomely tough bruises on my thighs.  Note: when removing cabinetry, check for the no-see-um screws first, often found on the very top or underneath.  Unscrew those, then the lower ones, then do the top.  Dealing with the hidden screws is how I got the bruises.
Valance thingy?
Rubber hammer time!

Ta da! 
Oh yes, those big brown patches over there on the sink wall? That's drywall. Really friggin' old drywall that used to be white. I have to replace the whole thing I think. The project keeps getting bigger but thanks to Sherman-Williams and their amazing Color Visualizer, I can start to see my vision coming alive:


Imagine this with those white dishes I found, red accents and a whole bunch of glass jars filled with pasta. Ahhhhhhhhhh. It makes it all worth while.

Call it a productive Saturday! Cheers, ya'll!
~Easty

Sunday, January 29, 2012

I do not luv the '90s

That's not all together true. The '90s were pretty good to me. Culturally it was a new dawn in music and fashion; a complete rejection of the '80s.  And I went through all of my awkward phases during that decade so it played a formative role in "character building."

However when it comes to my kitchen, I do not like the 1992 burgundy/hunter green combo found in the tile backsplash and countertop. It's gross and completely outdated.  It seems that '80s style has come back around (hello, neon yellow handbag at Target!) and the '90s are the new '80s. So passe.


The kitchen is my first major project! It's totally functional as-is, but totally not me at all.  This is me:

(www.bhg.com)

Prior to moving in, I removed all of the face plates and installed electrical gaskets in an effort to seal the house.  I removed one plate in the kitchen (to the left of the mixer), noticed evidence of an inactive cockroach infestation, quickly screwed the plate back on without sealing it, and moved on to the next room.  I managed an apartment complex in North Hollywood for six months that had an unmanageable cockroach problem.  It was either them or me and they won.  I am still dealing with some PTSD.

Needless to say, I required some moral support in starting this one.  My dear friend, James, came into town as he is working on a nationwide service project (see www.serfbliss.com) and I am his stop in Alabama.  He has always been good about knocking any phobias out of me in the past, so we tackled the backsplash together.

Note the glam glasses in the absence of protective eyewear.  It was better than nothing and I look fabulous chipping away at my walls, don't you think daaaaaling??

After James left, I got a little (um, a little?!) impulsive and ripped out the massive wooden Goliath-of-a-hood  over the stove.  It was there that I learned about grounded wires and the importance of shutting the power off in the WHOLE house (not just PART of the house) when dealing with electricity.  My house smelled like burning for a while but I'm okay!


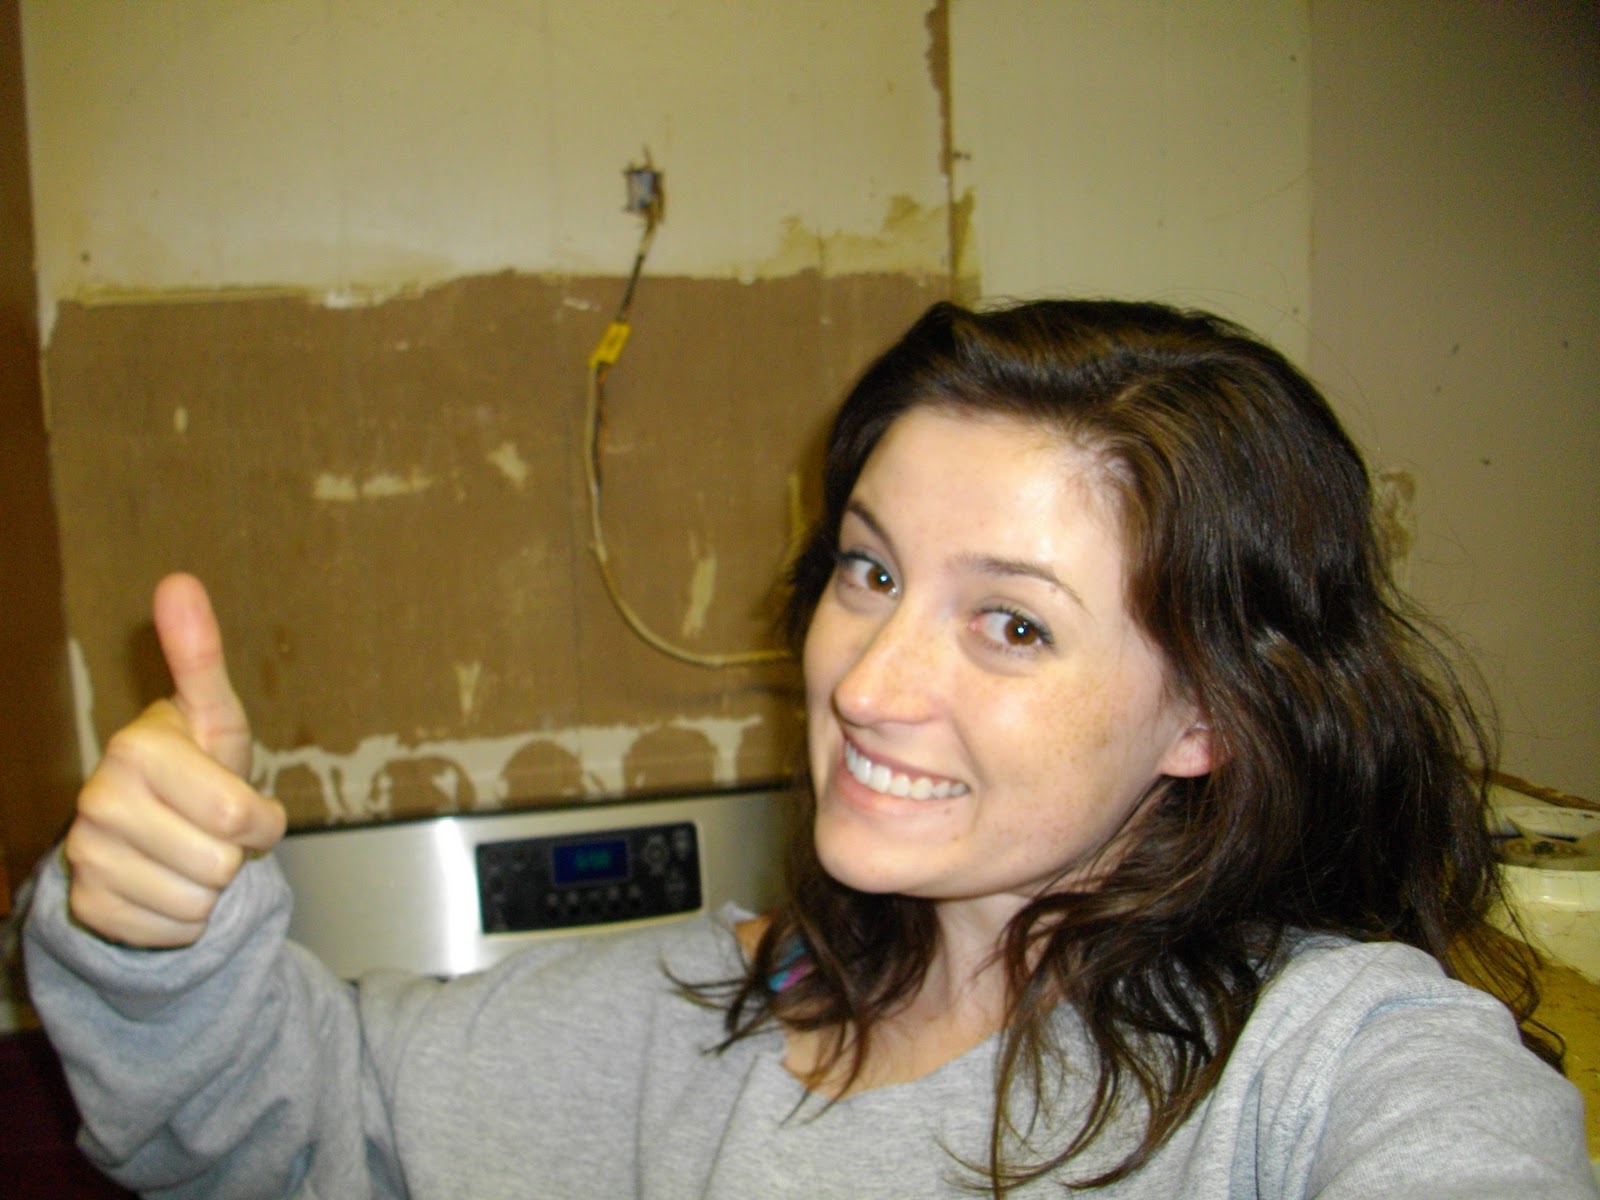
Here is what my kitchen looks like now:


Looks like crap, you say? Hey, it's progress not perfection! Here's what I want the oven's wall to look like when I'm done:

I have to do this thing in stages because I am on such a tight budget.  One saving grace is that the house came with brand new stainless steel appliances, which is usually the biggest expense in kitchen remodels. I got some countertop quotes from the big box stores; nothing under $1100 for laminate even!  Thanks to Ikea and my neighbor, Cameron, I spent $230 on the perfect gray/stainless steel countertops.  Totally worth the three-hour drive to Atlanta!  I think I may have decided on an apron sink from Ikea too ($185.99 + shipping).

I also found an all-white, 79-piece Martha Stewart dish set at a local antique store ($50!) that I cannot wait to display on those open shelves.  Slap some beaded board behind that deal and now we're talkin'! I am currently emptying the upper cabinets and preparing a temporary kitchen set-up as I work on this project, paycheck by paycheck, week by week...

More to come!
~Easty